
the psycho cat on an HP Mini with Ubuntu
Just Beginning
Introduction
Read this first before you try Ubuntu*
Which Ubuntu to pick?
Getting Ubuntu
Making a bootable USB of Ubuntu
Ubuntu inside Windows
Dual-boot with Windows
Install Desktop CD Ubuntu
Modest Specs
Install Software
Security in Ubuntu
Where's the Terminal?
Password in Terminal
Next Steps
Install Proprietary Drivers
Mount Windows
Install Proprietary Plugins
Finding iTunes Alternatives
Use Wine
Beyond the Basics
Backing up Ubuntu
Upgrade Ubuntu*
Change boot menu
Playing Around
Unity to classic Gnome
Unity Gnome/KDE Plasma Comparison
Install KDE
Install XFCE
Pure Ubuntu
Pure Kubuntu
Pure Xubuntu
Pure Lubuntu
Troubleshooting
Can't sudo
Graphical sudo
Forgot password
* Off-site link
Cheap Plugs
If you've found these tutorials useful, please consider donating a small amount to one of my favorite non-profits/charities. Every little bit helps.
You may also want to consider donating directly to the Ubuntu project.
Installing Ubuntu

This work is licensed under a Creative Commons Attribution-ShareAlike 3.0 Unported License.
Installing Ubuntu
Notes
This tutorial assumes you definitely want to install Ubuntu on your full drive and erase Windows completely. Unless you are absolutely sure you want to erase Windows, do not follow this tutorial.
Instead, I would recommend you start migrating to open source Windows applications in Windows, playing around with Ubuntu virtually inside Windows, and then use a dual-boot between Ubuntu and Windows.
If you are using Mac OS X, the community documentation may help you out here.
Installing Ubuntu
Now that you have the Desktop CD, you'll need to reboot your computer to use Ubuntu.
Your computer's BIOS must be set to boot from CD first; otherwise, Windows will just load up again. To get into the BIOS settings, you usually have to press one of these keys during boot-up: Escape, F1, F2, F12, or Delete. Usually your computer will tell you which key to use.

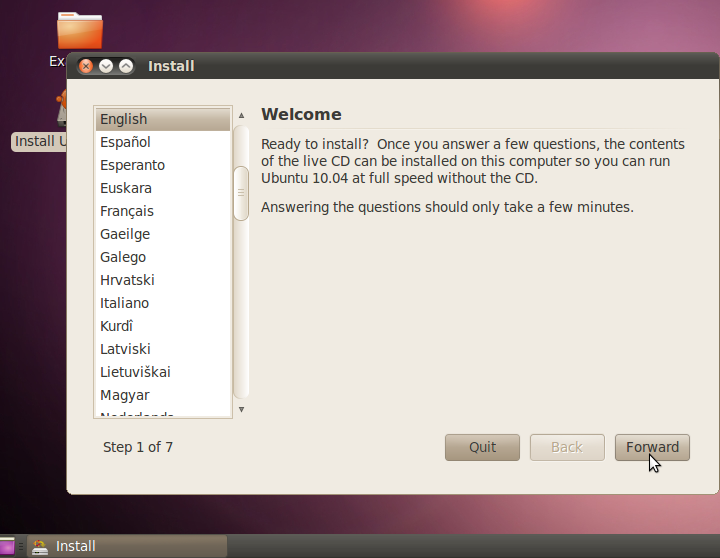
Once your BIOS is configured to boot from CD first, if you have Ubuntu in the drive, you should see this screen. Ubuntu will take a couple of minutes to load up. Just be patient.

Select your preferred language.
If you have at least 512 MB of RAM, you may want to select Try Ubuntu, as it will allow you to do other things (check your email, browse the web) while you're installing Ubuntu.
If you have only 256 MB or 384 MB of RAM, you should select Install Ubuntu. This will give you the same installation screens you see below, but you won't have the rest of the Ubuntu live session running as well.
If you have less than 256 MB of RAM, you should use the Alternate CD to install Ubuntu, or do a barebones installation.
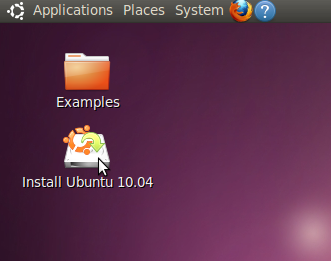
If you choose to install Ubuntu directly, the installer will launch immediately. If you choose the Try Ubuntu option, you'll be in the Ubuntu live session. From there, click the Install Ubuntu icon on the desktop.

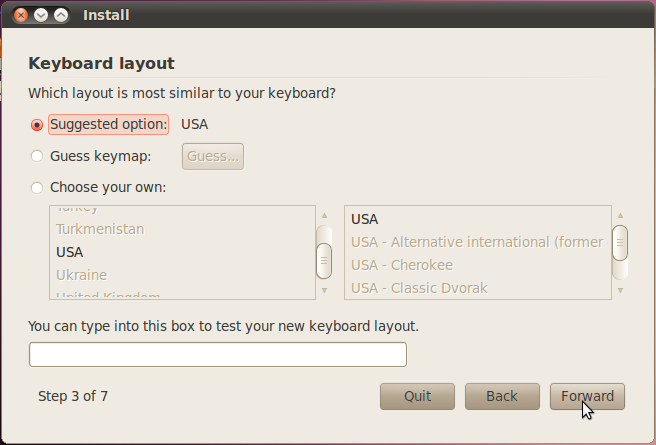
Answer the questions as best you can. Most of them should be self-explanatory.
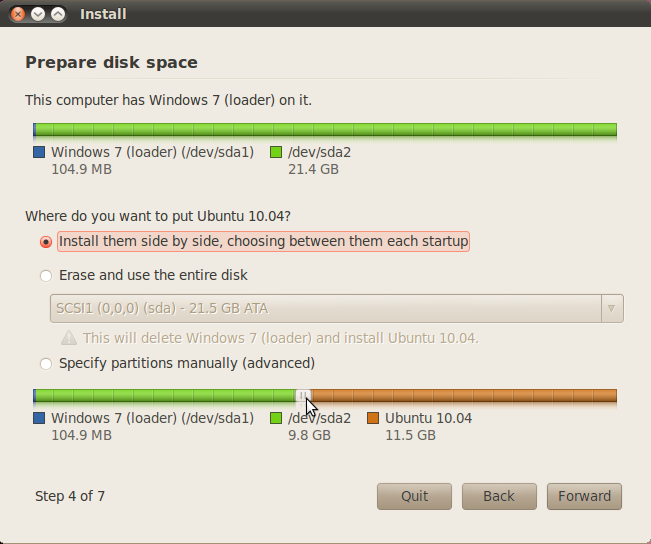
By default, the installer will give you the option to install Ubuntu side by side with whatever operating system is currently on your computer. You can choose that if you want to set up a dual-boot, but as I stated before, the safest dual-boot is probably with Wubi, unless you know what you're doing (in which case you shouldn't be looking at this guide).
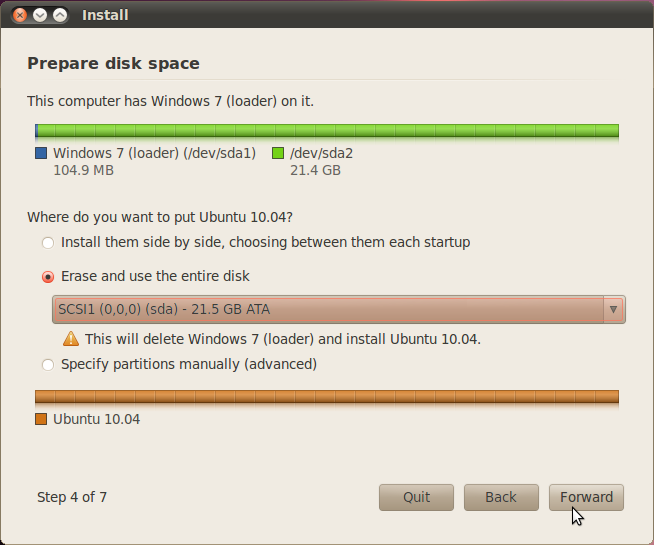
For simplicity's sake, you should select Use the entire disk. Or, if you don't want to erase your entire drive, click Quit and then boot back into Windows and set up a dual-boot using Wubi.

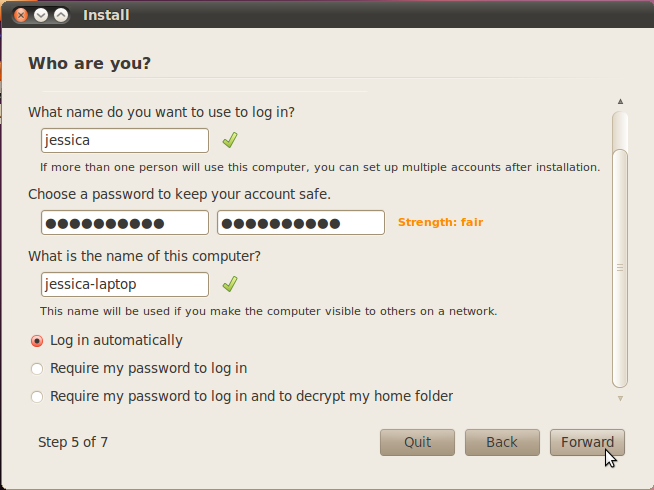
The next screen will ask you for your username and password. On some smaller screens, you may have to scroll down to see some of the other options.
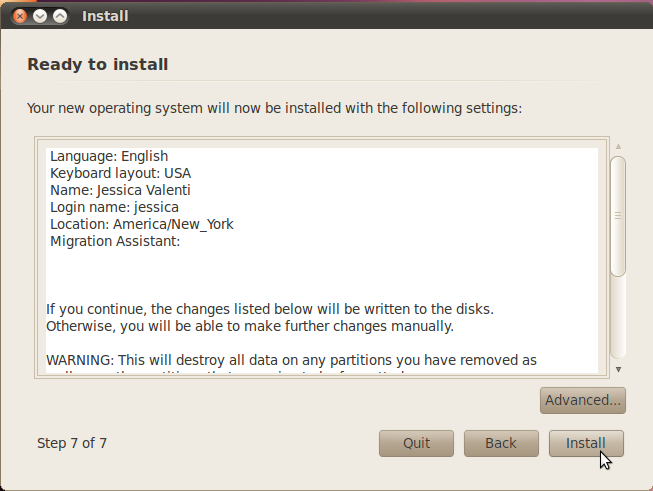 Once you're sure you want to do this (this will erase your entire hard drive—make sure everything is backed up first!), click Install.

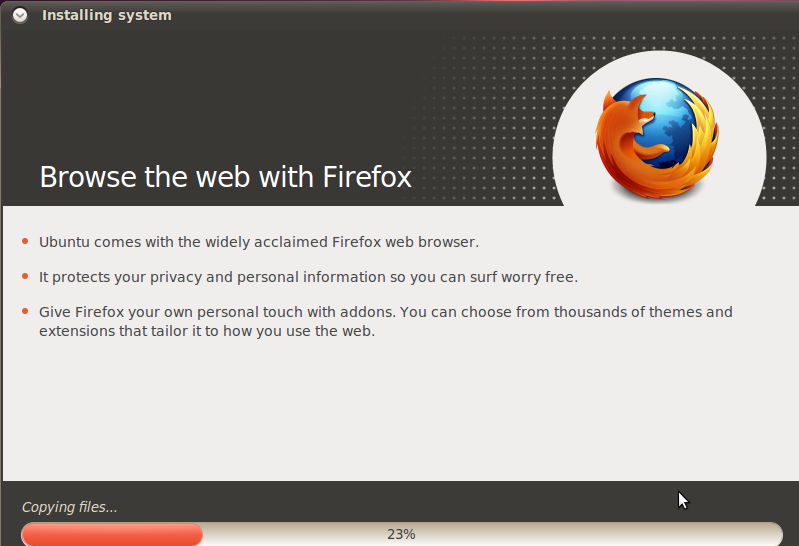
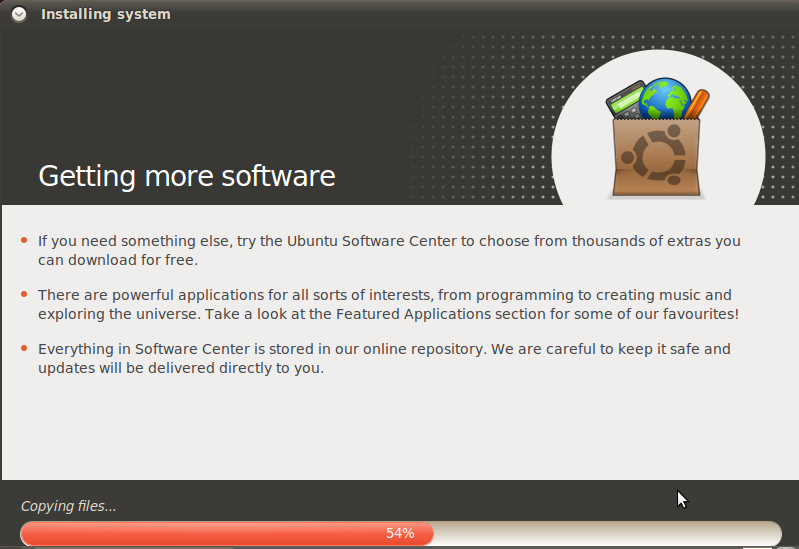
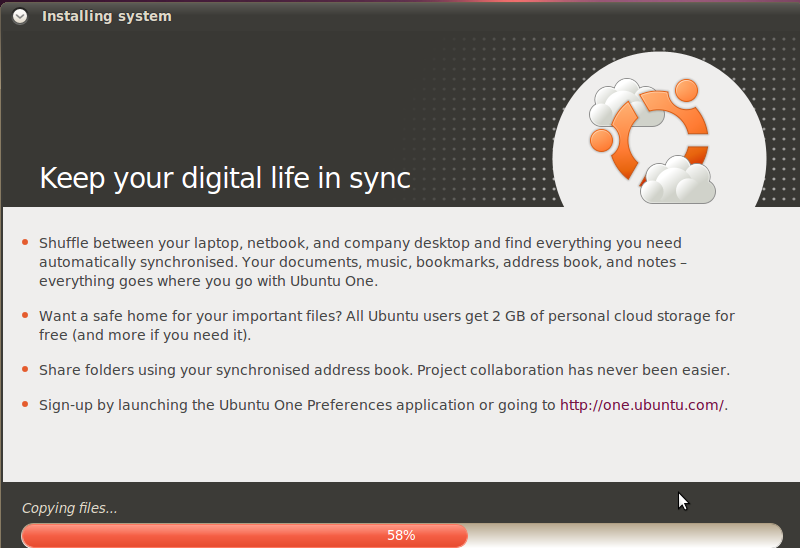
If you booted Try Ubuntu, you can still keep using the live CD to play games or surf the web while Ubuntu is installing. There is also a slideshow you can watch.
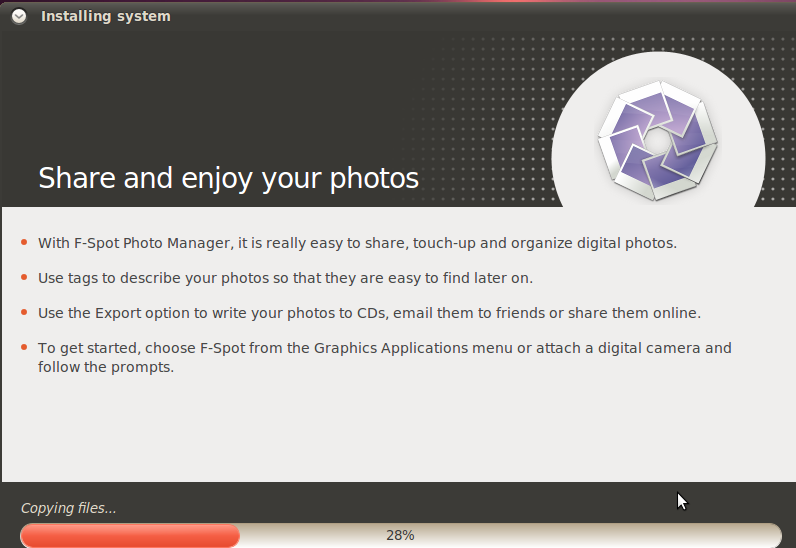
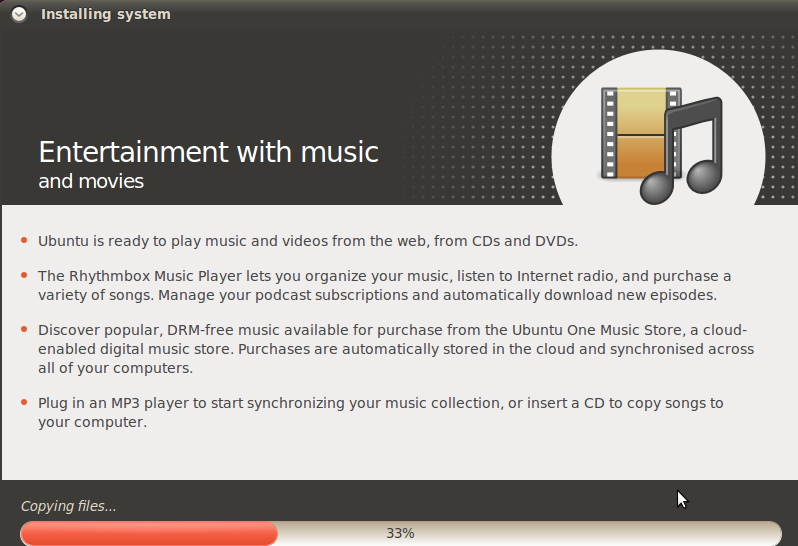
More slideshow.

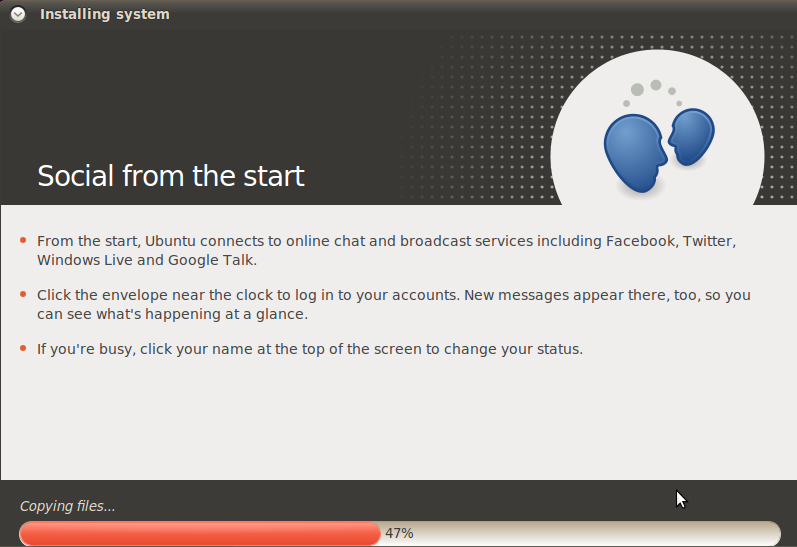
Still more slideshow.
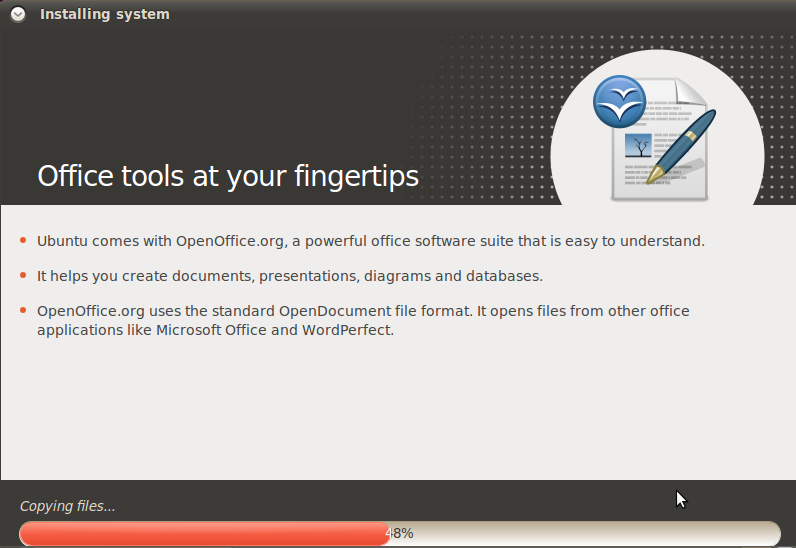

Yeah.
That's right.

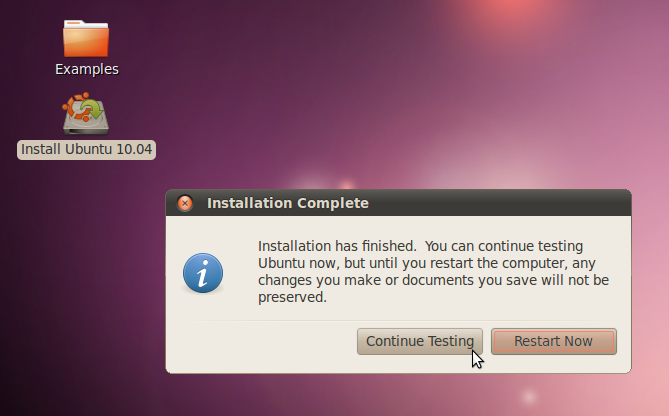

Eventually, the installation will finish (the whole thing can take anywhere between 15 minutes and an hour, depending on the speed of your computer). You can either Continue Testing if you want to shutdown your computer or Restart Now if you want to restart your computer.
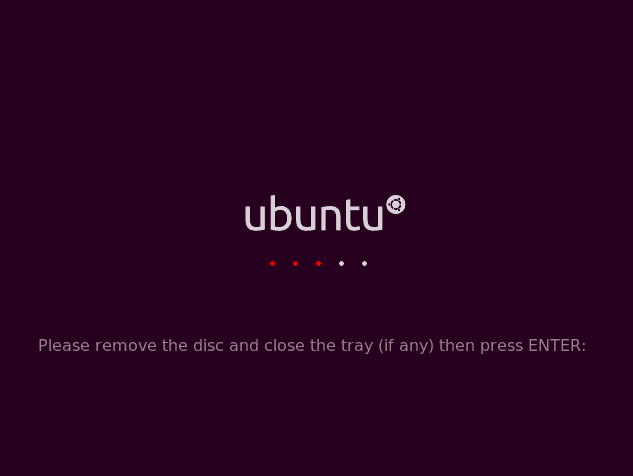
Either way, Ubuntu will eject your CD (or prompt you for when to remove your USB stick, if you used UNetBootIn instead of a CD burning program). The next time you boot up, you should have a working Ubuntu installation!
Last updated 10/13/10 10:06
If you have suggestions or corrections for these tutorials, please post in this Ubuntu Forums thread or leave a comment on my blog.
I will not give help to people posting in the above places. If you require technical support, start a support thread on the Ubuntu Forums. That is the appropriate place to ask for help.